

Windows版のVisual studio Codeのインストール方法から日本語化にする方法と背景色やフォントを変更する基本設定をする手順を解説しております。
ここでは、フォントを[Fira Code]にして合字にする方法記載しています。
Visual studio Codeの概要
Visual studio CodeはMicrosoftが開発しているソースコードエディターです。
Windowsを始めLinux、MACでも使用することができます。
カスタマー性が高く多くの機能拡張を追加することができます。
無料で使えるのが良いところです。
Visual Studio Codeのダウンロード
1.下記のURLボタンからVisual Studio Codeをダウンロードします。
2.以下の様なフォームが開きますので「Down load Windows」をクリックするとダンロードが開始します。
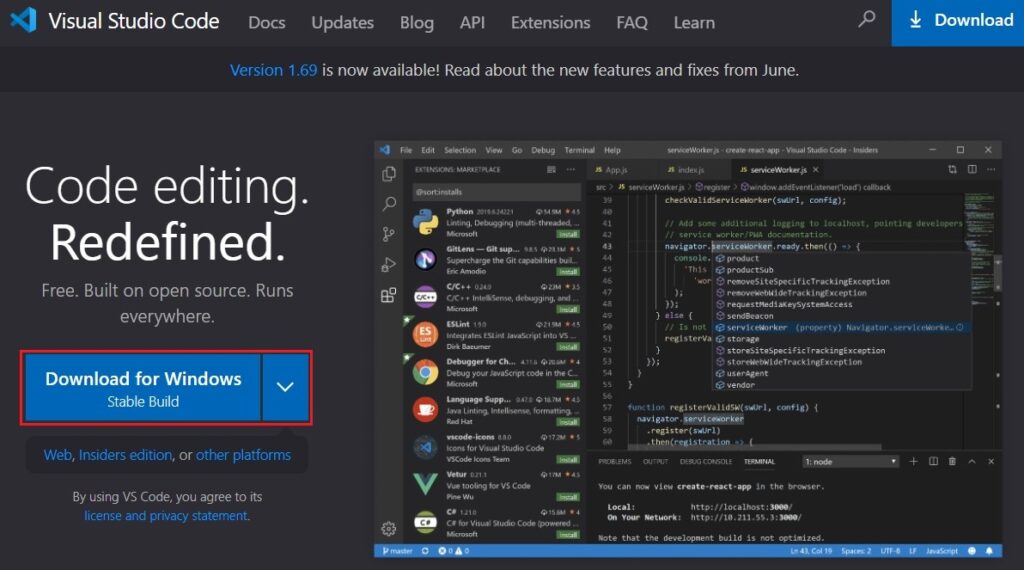
・もし「Download for Windows」以外のOSが表示されていたら、
ボタン下の「other platforms」を選択します。
・開いたフォームからWindowsボタンのUser Installerから64bitを選択します。
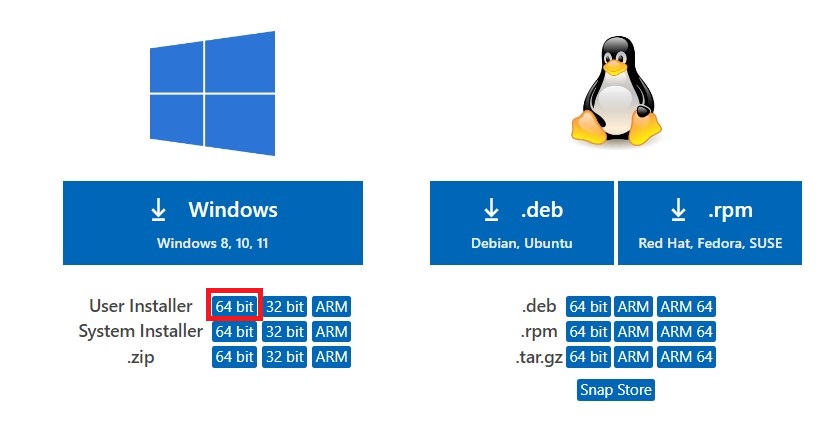
Intel又はAMDのCPUのでは64bitと32bitから選択できますが、OSが32bitでない限り64bitを選択するのが無難です。
CPUがARMであればARMを選択します。
Visual Studio Codeのインストール
1.ダウンロードフォルダーから「VSCCodeUserSet-64」をダブルクリックします。

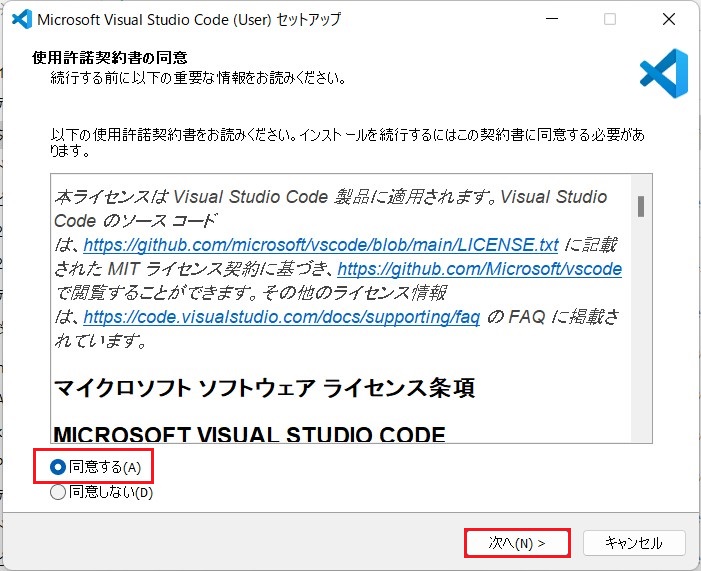
2.使用許諾契約書フォームから”同意する”にチェックを入れて、”次へ”をクリックします。
3.インストール先を確認して特に問題なければ、そのまま”次へ”をクリックします。

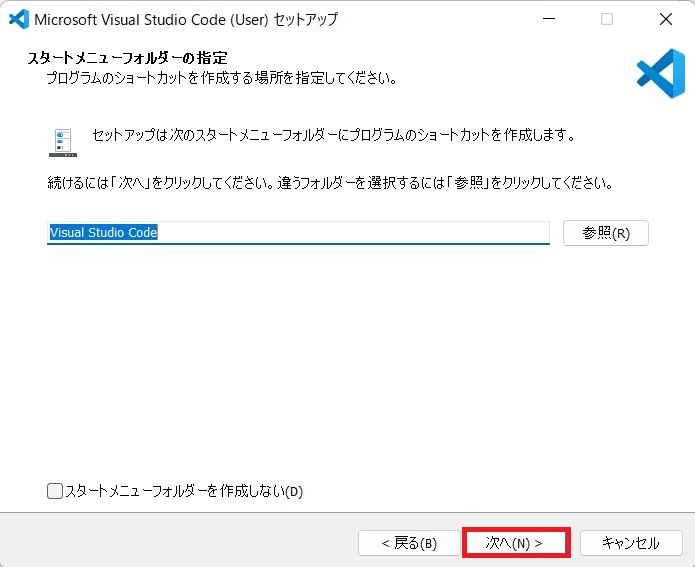
4.スタートメニューに入れる聞いてくるので”次へ”を選択します。
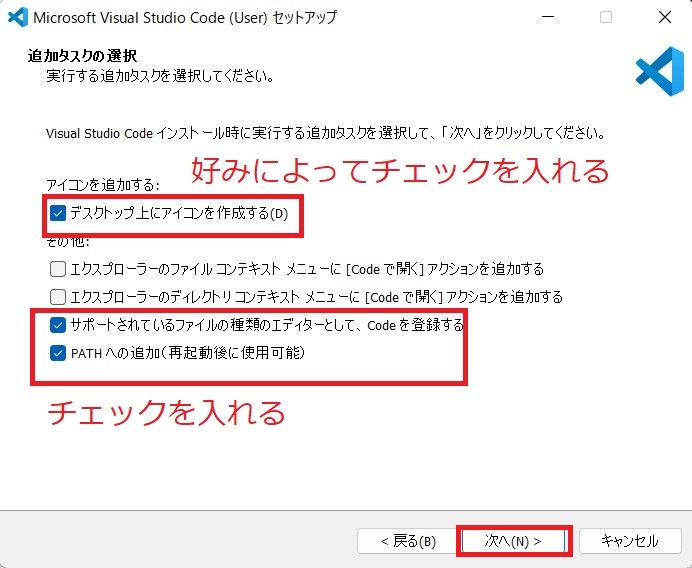
5.以下の様にチェックを入れて”次に”を選択します。
アイコンの作成は好みによってチェックを入れてください。
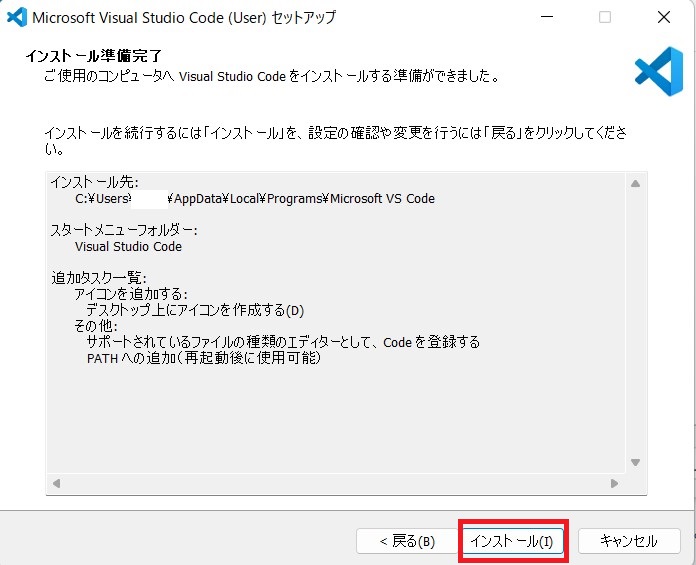
6.インストールホルダー等の設定を確認して”インストール”をクリックします。
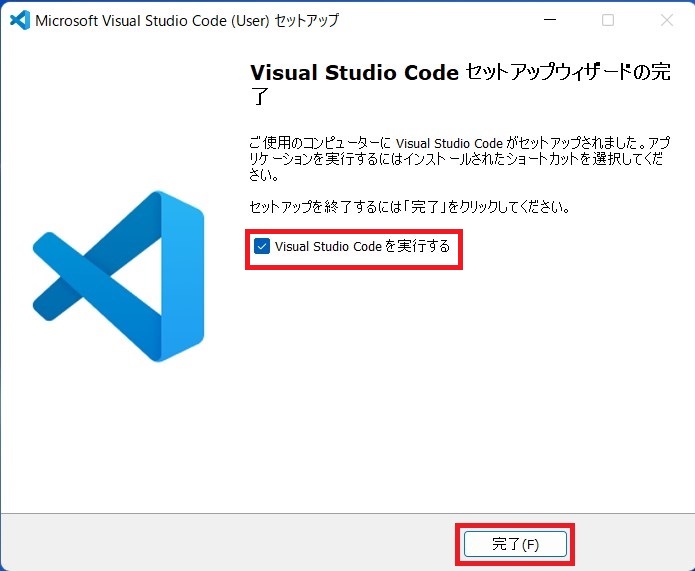
7.下記のフォームが表示されればインストールの完了です。
Visual Studio Codeを実行するにチェックが入ってることを確認して”完了”をクリックします。
Visual Studio Codeを日本語化する
まだ初期では英語表記のままです。拡張機能を使って日本語化していきます。
1.Visual Studio Codeを起動します。
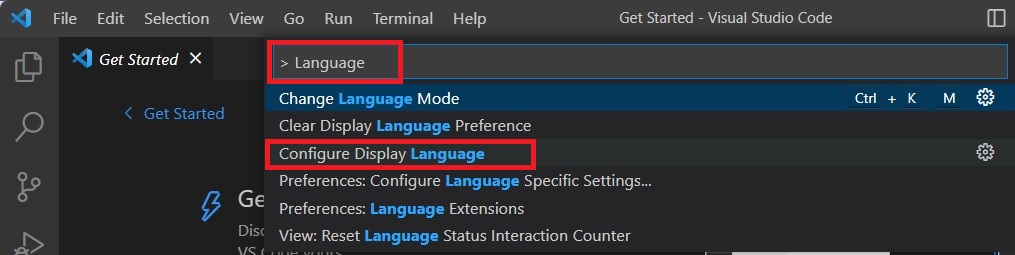
2.[View]メニューから[Command Palette]をクリックします。

3.[Command Palette]に Language と入力し、Configure Display Language をクリックします。
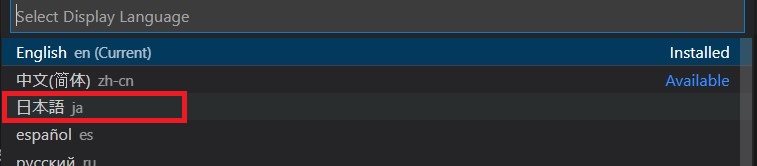
4.”日本語 Ja”を選択します。
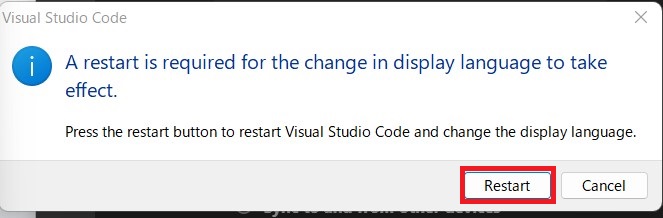
6.”Restart”ボタンを押してVisual Studio Codeを再起動させます。
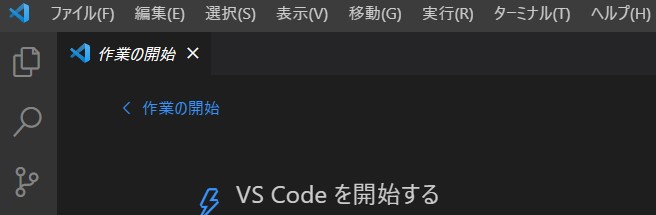
7.表記が日本語になりました。
配色テーマの変更
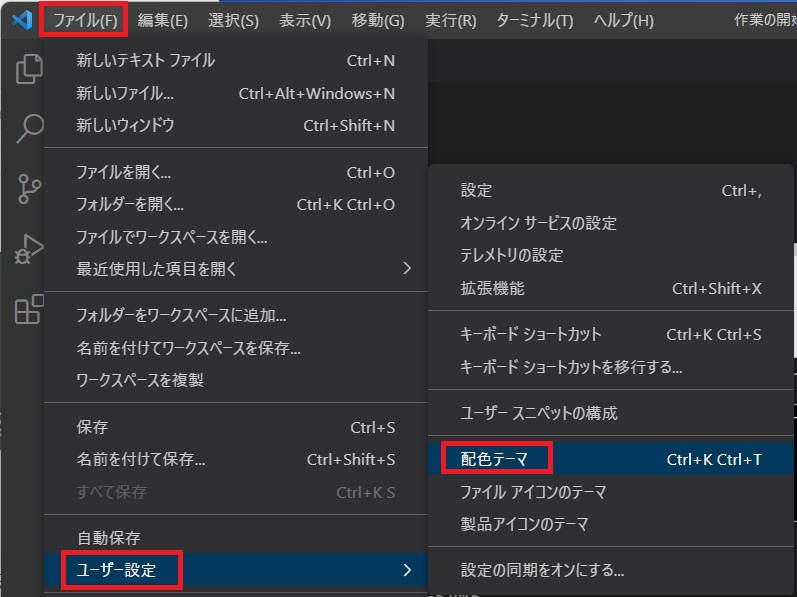
1.ファイル>ユーザー設定>配色テーマ>の順に選択します。
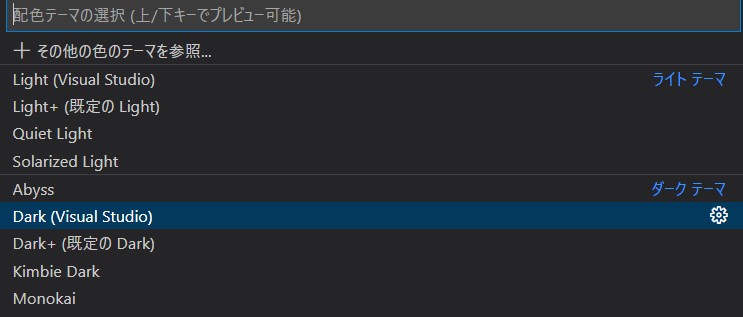
2.配色テーマが表示されるので好きな物を選択してください。
ここでは、Dark(Visual Studio)を選択してみました。
フォントサイズ変更
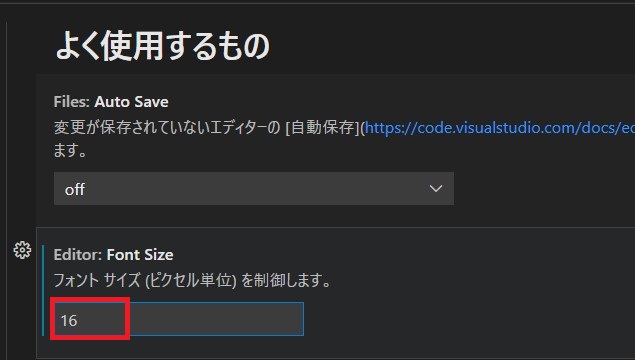
デフォルトのフォントサイズは14です。好みによってフォントサイズを変更していきます。
2.ファイル>ユーザー設定>設定>の順にを選択します。
3.Edit Font Size に好みのサイズを入力します。
フォントをFira Codeに変えよう
ここでは、例としてインターネットからFira CodeのフォントをダウンロードしてVSCodeのフォントに設定しますが、他のフォントでも同じ要領で設定することができます。
フォントを変えることでプログラムの可読性が良くなりなります。
・下にデフォルトのフォントとFira Codeの合字ありなしでのサンプルです。
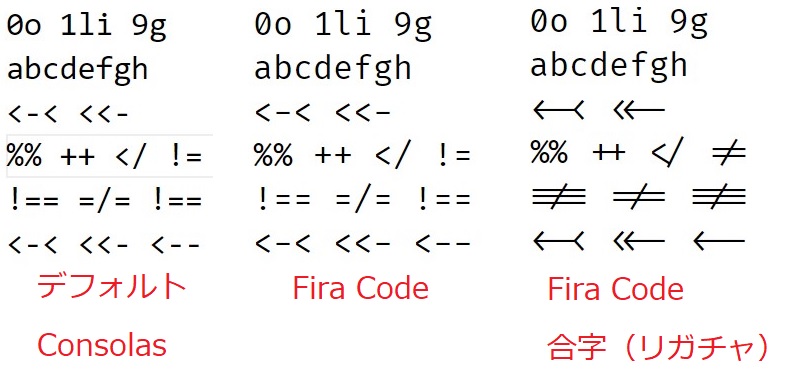
特に0o,1li,9gなどはプログラムに特化したフォントを使わないと間違いやすいです。
デフォルトのフォントでも見やすいですが、Fira Codeの方が可読性良いです。
合字にすると新たな記号が生まれて、覚えれれば間違わなくなります。
フォントをPCにインストール
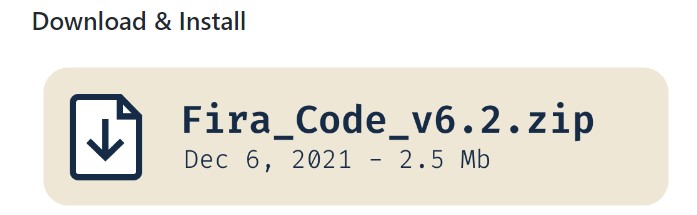
1.下記のURLボタンからFira Codeをダウンロードします。

2.ページ下の方の(Fira_Code_v6.2.zip)をクリックしてダウンロードします。
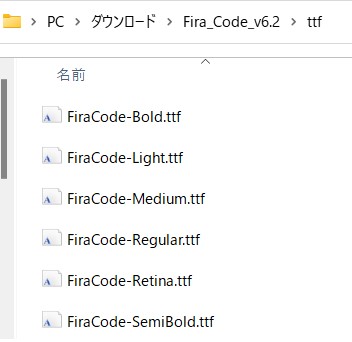
3.ダウウンロードしたファイルを解凍します。
4.ttfフォルダーを開きます。
5.拡張子がttfのファイルが6個あることを確認してください。
6.拡張子がttfのファイルをダブルクリックします。
7.左上のインストールボタンをクリックします。
PCにフォントが登録されます。
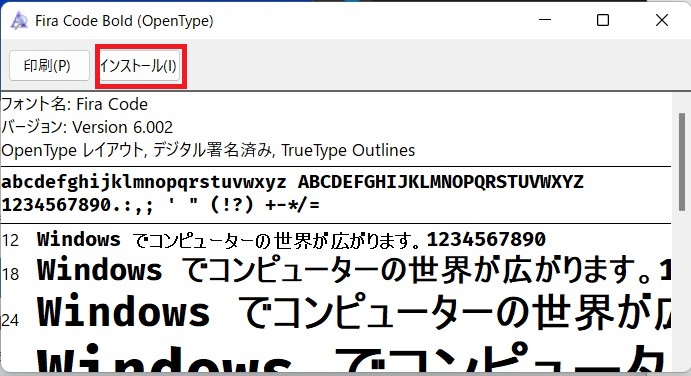
8.すべてのファイルにこの作業をします。計6回
VSCodeのフォントを変更する
1.ファイル>ユーザー設定>設定>の順に選択します。
2.[Editor: Font Family ]に設定したいフォントを記載します。
左側に ’Fira Code’, を追記します。

・フォント書式のルールについてフォントは左から採用されます。
フォントに空白がある場合は「シングルクオート」で囲みます.
フォントが複数指定する場合には、カンマで区切ります。
VSCodeフォントを合字(リガチャ)にする
1.設定の検索窓に[font ligatures]を入力します。
2.Editor:Font Ligatures が表示されるので「Setting.jsonで編集」をクリックします。
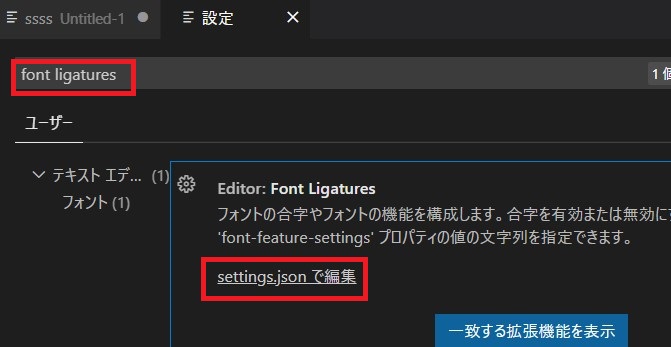
3.設定ファイルが表示されるので false を ture にします。

4.「Ctrl」+「S」でセーブします。
5.テキストエディターに文字を打ってフォントが変わった事を確認してください。
最後に
如何だったでしょうか?
VSCodeの基本設定の方法が理解できたのではないでしょうか。
フォントをfira codeに変えて合字にしていますが、
慣れないと元の文字の何が組み合わせれて合字になっているか解りません。
合字に向かないと思ったら元に戻しておきましょう。
私は全然向かなくて無理でした。


コメント